Best Free Website Image Optimizer – Compress Images Directly on Your Server
Best Free Website Image Optimizer – Compress Images Directly on Your Server
Most slow websites have the same problem hiding in plain sight: images that are far larger than they need to be. A banner photo saved straight from a camera or design tool can be several megabytes. Multiply that across a few hundred product photos, blog images and team pictures, and every visitor is downloading far more data than the page actually needs.
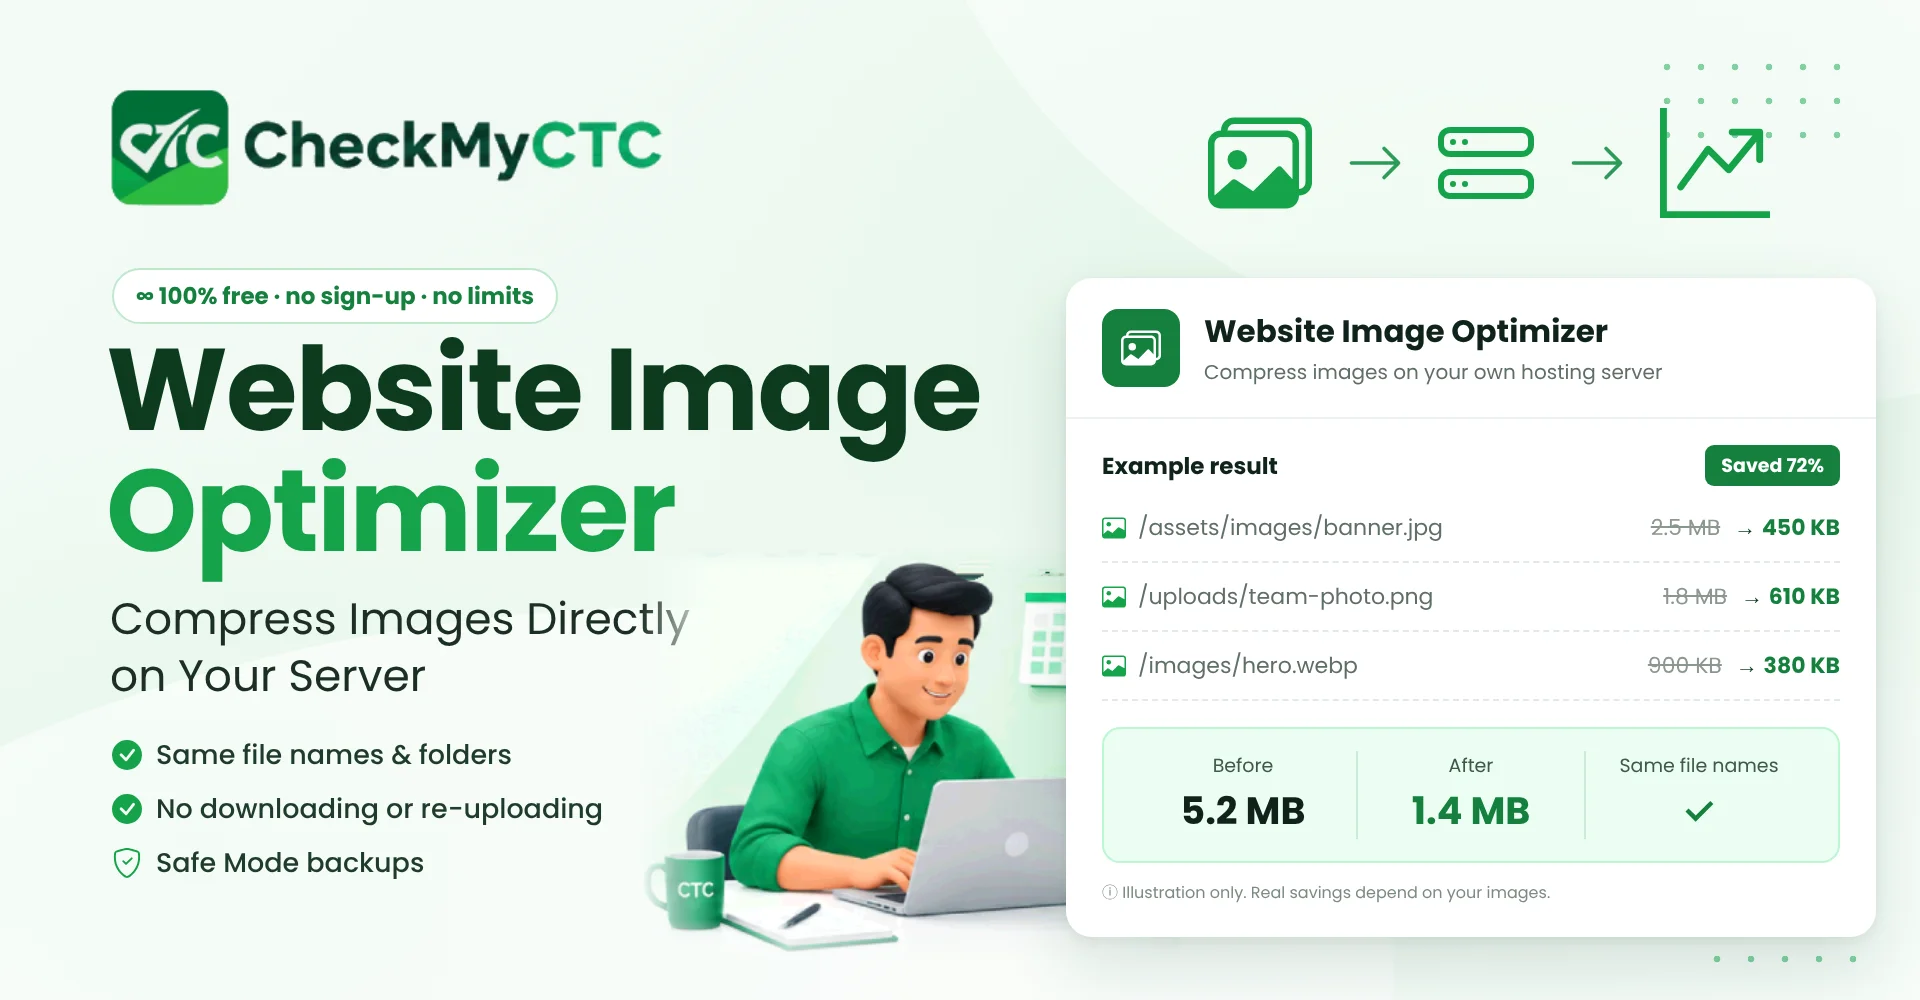
The usual fix is painful. You download the images, run them through a compressor, then upload them back – making sure every file keeps its exact name and lands in the exact folder it came from, or your pages break. A website image optimizer that works on the server itself removes that whole round trip. The free Website Image Optimizer on CheckMyCTC compresses images directly on your own hosting, keeps the same file names and folders, and never asks you to download or re-upload anything.
This guide explains how image compression works, what server-side optimization actually does, how to use the tool safely, and where its limits are – so you can decide whether it fits your website.
What Is a Website Image Optimizer?
An image optimizer reduces the file size of an image while keeping it visually as close to the original as possible. It does this by re-encoding the image more efficiently, removing data the browser does not need, and – when you allow it – discarding detail that the human eye is unlikely to notice.
A website image optimizer goes one step further: instead of working on single files you pick by hand, it works on the images that are already live on your website. The CheckMyCTC tool is built around three ideas:
- The work happens on your hosting. A small PHP connector file that you upload to your website reads, compresses and replaces the images locally. The images are not sent to CheckMyCTC.
- Nothing about the file's address changes.
banner.jpgin/assets/images/staysbanner.jpgin/assets/images/– it is just smaller. Your HTML, CSS, database references and search-engine image links keep working. - It handles volume. Images are processed in small automatic batches, so a folder with 300 images and one with thousands follow the same process.
It supports JPG, JPEG, PNG and WebP files – the formats used by the vast majority of websites.
What Problem Does It Solve?
Heavy images affect a website in ways that are easy to overlook:
- Slower page loads. Images are often the largest part of a page's total size. The biggest visible image on a page frequently determines how quickly the page feels loaded, which is also what Google's Core Web Vitals measure through Largest Contentful Paint.
- Mobile visitors pay the price. On slower mobile connections, a 2 MB hero image can mean several seconds of blank space.
- Hosting space and bandwidth. Shared hosting plans have storage and transfer limits. Oversized images eat into both, and into every backup you take.
The traditional fix creates its own problems. Downloading an entire uploads folder, compressing it on your computer and uploading it back is slow, easy to get wrong, and risky: one renamed file or misplaced folder means broken images on live pages. Many online compressors also limit how many files you can process, cap the file size, or require an account.
Server-side compression avoids the transfer entirely. The files are compressed where they already live, and each one is swapped for its smaller version only after the new file has been checked.
How the Tool Works
The CheckMyCTC dashboard is only the control panel. The actual compression is done by a connector file on your hosting. Here is the full workflow:
- Enter your website address and image folders. For example
uploads,imagesorwp-content/uploads. The connector you generate can access only these folders – nothing else on your server. - Download the connector. You receive a single file,
checkmyctc-connector.php, created uniquely for your website. - Upload it with cPanel File Manager or FTP into your
public_htmlfolder. You never share hosting, cPanel or FTP passwords. - Connect. The dashboard sends a signed test request. If the connector answers correctly, your website is connected.
- Scan your folders. The connector lists every supported image, with its dimensions and file size. Files that are not genuine images – for example a script renamed to
.jpg– are skipped. - Review the gallery. Browse thumbnails, search by file name, filter by format, folder or status, and sort by size to find your heaviest files.
- Select and compress. Choose individual images or select everything, pick a quality level, and start. Progress, savings and any errors are shown as each batch finishes.
- Check the savings report. See the original size, compressed size and total storage saved, broken down by format.
What happens to each image
For every file, the connector follows the same safety sequence:
- Confirms the file really is the image type its extension says it is.
- Creates a compressed copy in a temporary file inside the same folder.
- Fully decodes the new file to make sure it is complete and valid.
- Compares sizes. If the new file is not actually smaller, the original is kept unchanged.
- In Safe Mode, saves a verified backup of the original in a private folder on your server.
- Replaces the original in a single step, keeps its file permissions, and checks the final result.
The original is never deleted before the replacement has been validated.
Understanding Image Compression
You do not need to be a designer to use the tool, but a little background helps you choose the right settings.
Lossy and lossless compression
Lossless compression rewrites the file more efficiently without changing a single pixel. It is ideal for logos, icons, screenshots and graphics with text. The savings are usually modest.
Lossy compression discards fine detail that is hard to see. For photographs, this is where the large savings come from. A photo saved at very high quality often contains much more data than any screen can show.
What the quality number means
For JPEG and WebP, quality is set on a scale up to 100. Lower values produce smaller files with more visible artefacts. The tool offers four levels:
| Setting | JPEG / WebP quality | PNG handling | Typical use |
|---|---|---|---|
| High Quality | 85 | Lossless | Portfolios, photography, product close-ups |
| Balanced | 80 | Lossless | Most blogs and business websites |
| Maximum Compression | 65 | Reduced to 256 colours | Large archives where file size matters most |
| Custom | Your choice | Your choice | When you want precise control |
Metadata
Photos from phones and cameras carry hidden metadata: camera model, settings, sometimes location. Browsers do not need it, so removing it saves space and avoids publishing details you may not want public. Phone photos also store their rotation in this metadata; the tool rotates such images upright before removing it, so they still display correctly.
Compression is not resizing
Compression keeps the pixel dimensions; resizing changes them. A 4000-pixel-wide photo displayed in an 800-pixel column is still wasteful even after compression. Resizing is available as a separate option, but it is off by default because some images are deliberately large.
A Practical Example
The following is an illustration, not a measured result for any particular website.
Imagine a small clinic website with a /uploads/ folder of about 250 photos added over several years: doctor portraits taken on phones, a few banners exported at maximum quality, and some PNG screenshots of opening hours.
- The owner connects the website and scans
uploads, including sub-folders. - Sorting by "Largest first" shows that a handful of banners and portraits account for most of the folder's total size.
- They select all images and choose Balanced, keeping Safe Mode on.
- Photos saved at very high quality usually shrink considerably at quality 80. Phone portraits also lose their camera metadata. The PNG screenshots are compressed losslessly, so the text stays crisp; savings there are smaller.
- Any image that is already efficiently compressed is reported as "No saving – original kept" and left untouched.
The pages keep the same image links, so nothing needs to be edited in the website itself. The exact savings depend entirely on how the original images were created – which is why the report shows the real before-and-after size of every file.
Who Can Use This Tool?
- Small business and professional websites – clinics, consultancies, schools and shops that have accumulated large photos over time.
- Bloggers and content publishers with years of featured images in an uploads folder.
- WordPress site owners who want to compress
wp-content/uploads, including the extra image sizes WordPress generates. - Freelance developers and agencies maintaining several client websites; each website gets its own separate connection.
- HR and recruitment websites, job portals and company career pages that host team photos, office images and event galleries.
The requirement is technical rather than industry-specific: your website must run on hosting with PHP 8.1 or newer, have the GD or Imagick image library (available on most shared hosting), and use HTTPS.
Key Benefits
- No download or re-upload. Files are compressed where they live, which removes the riskiest part of manual optimization.
- Same names, same folders. Links in pages, themes and databases continue to work.
- Bulk processing in safe batches. Large folders are processed a few images at a time, adapting to your server's speed so the hosting is not overloaded.
- Undo with Safe Mode. Originals are kept as backups in a private folder on your own server, and can be restored individually or all at once.
- Nothing gets bigger. If compression would not reduce a file's size, the original stays.
- Free with no artificial limits. There is no registration, no plan, no daily or monthly image cap and no watermark. The practical limit is your own hosting's speed.
- Privacy by design. Images never leave your server. The file names and sizes the dashboard uses are deleted automatically 60 minutes after your last activity, or immediately if you choose "Delete now".
Server-Side Optimization vs Other Approaches
There is more than one way to make website images lighter. Each has a place:
| Approach | How it works | Strengths | Trade-offs |
|---|---|---|---|
| Manual: download, compress, re-upload | Files are processed on your computer and uploaded back | Full control over each image | Slow for many files; easy to rename or misplace files; needs full folder access |
| Online drag-and-drop compressor | You upload files to a website and download the results | Convenient for a few images before publishing | Images leave your computer; you still have to replace the live files yourself |
| Server-side website image optimizer | A connector compresses the live files in place | Handles existing images in bulk; names and folders unchanged; backups on your server | Needs PHP hosting and a file upload; speed depends on your hosting |
| Optimizing before upload | Images are compressed and resized as part of your publishing routine | Prevents the problem for new images | Does nothing for images already on the site |
In practice, the most effective routine combines the last two: clean up the existing library once with a server-side optimizer, then compress new images before you upload them.
Safe Mode vs Direct Mode
Safe Mode, the default, keeps every original so you can restore it. Direct Mode replaces originals after validation without keeping a backup, which saves disk space but removes the undo option. Use Direct Mode only if you already have a full hosting backup.
Common Mistakes to Avoid
- Authorizing the wrong folder. Folder paths are relative to where the connector is uploaded, usually
public_html. Writeuploads, not the full server path. - Using Maximum Compression on logos and text graphics. Reducing PNGs to 256 colours can create banding in gradients. Keep graphics with fine detail on lossless settings.
- Compressing the same images repeatedly. Each lossy pass removes a little more detail. The tool skips images it has already optimized; avoid forcing re-compression unless you have a good reason.
- Expecting compression to fix oversized dimensions. A 5000-pixel image will still be heavy. Use the optional resize setting or replace it with a properly sized version.
- Forgetting about caching. If your site uses a CDN or caching plugin, visitors may see the old versions until that cache is cleared. Your own browser may need a hard refresh as well.
- Switching to Direct Mode without a backup. Without Safe Mode backups, there is no way to get the original files back from the tool.
- Leaving the connector in place indefinitely. Once you have finished, delete
checkmyctc-connector.phpfrom your hosting. You can always generate a new one later.
Limitations and Important Considerations
The savings and behaviour you see depend on several factors:
- Your original files. Images already compressed well will see little or no reduction. Photos saved at maximum quality usually see the biggest gains.
- Your hosting resources. Processing speed depends on your server's memory and time limits. Very large images may exceed the memory available on basic shared hosting and will be reported as failed rather than processed partially.
- Available image libraries. Most hosts provide GD. Some formats or colour modes – for example CMYK JPEGs – need Imagick.
- Special files. Animated WebP images are skipped so their animation is preserved. SVG files are not raster images and are not touched.
- Images outside the authorized folders. Images in theme folders, plugin folders or external storage are only processed if you include those folders.
- Visual judgement. Quality settings are a trade-off. Review a few important images – your homepage banner, product photos – after compressing, and use a higher quality setting if needed.
- File permissions. If your hosting does not allow PHP to write to a folder, images in it cannot be replaced; the tool reports this instead of failing silently.
Image optimization is one part of website performance. Server response time, scripts, fonts and caching also matter, so lighter images improve load time but are not the only factor.
Where This Fits on CheckMyCTC
CheckMyCTC provides practical, free tools for employees, job seekers and the people who run workplace and career websites. Alongside salary and HR calculators, the Website Image Optimizer helps businesses, consultants and site owners keep their websites fast without paid software or technical round trips.
Frequently Asked Questions
How do I compress all the images on my website at once?
Connect your website with the connector file, scan the folders that hold your images, then use "Select all" in the gallery and start compression. The tool works through the images in batches and shows progress until every selected image has been processed.
Will compressing images change their URLs or break my pages?
No. Each image keeps its exact file name, extension and folder. Only the file's contents change, so existing links in pages, themes and databases continue to work.
Are my images uploaded to CheckMyCTC?
No. Compression happens on your hosting server. The dashboard shows small thumbnails loaded directly from your website through short-lived signed links, and only keeps file names and sizes temporarily – they are deleted 60 minutes after your last activity.
What is the difference between lossy and lossless compression?
Lossless compression stores the same pixels more efficiently, with no change in appearance. Lossy compression removes detail that is hard to notice, which produces much smaller files for photographs. Use lossless for logos and text graphics, and lossy for photos.
Can I restore the original images after compression?
Yes, if Safe Mode is on. Originals are stored in a private folder on your own server. You can restore selected images or all of them from the dashboard, even after reconnecting the website later.
Does it work with WordPress?
Yes. Authorize wp-content/uploads when generating the connector. All the image sizes WordPress creates inside that folder are included in the scan, and the media library keeps working because file names do not change.
Why did some images show "No saving – original kept"?
Those images were already efficiently compressed, so re-encoding them would not have made them smaller. Keeping the original avoids any quality loss for no benefit.
Why do I still see the old image after compression?
Your browser, a caching plugin or a CDN may be serving a stored copy. Clear the site cache or CDN cache and do a hard refresh in your browser to load the new file.
Try the Free Website Image Optimizer
If your website has accumulated heavy images over the years, compressing them in place is one of the simplest ways to make pages lighter without touching your design or content. Start with Safe Mode and the Balanced setting, review your most important images, and keep the originals until you are happy with the result.
Compress your website images with the free CheckMyCTC Website Image Optimizer – no sign-up, no image limits, and no downloading or re-uploading.
Explore All CheckMyCTC Calculators & Tools
Check out the other free CheckMyCTC tools for salary calculations, employee benefits, HR tasks and everyday productivity. Choose a tool below to get started.
Salary & CTC Calculators
- Salary Hike Calculator
- Overtime Pay Calculator
- Work Experience Calculator
- Monthly Salary to Annual Package Calculator
- Annual Package to Monthly Salary Calculator
- Take-Home Salary Calculator
- CTC Breakup Generator
- Monthly Bonus Calculator
- Annual Bonus Calculator
- Job Offer Comparison Calculator
- Pro Rata Salary Calculator
Tax, PF & Employee Benefits
- HRA Tax Exemption Calculator
- EPF Provident Fund Calculator
- Gratuity Calculator
- LTA Calculator
- Professional Tax Calculator
- Income Tax Calculator
- National Pension System (NPS) Calculator
- ESI Calculator
- GST Calculator
Leave & Employment Tools
- Last Working Day Calculator
- Resignation Date Calculator
- Leave Amount & Salary Deduction Calculator
- Notice Period Calculator
- Earned Leave Encashment Calculator
- Sandwich Leave Calculator
- Maternity & Paternity Leave Calculator
Documents & Productivity Tools
Leave a Comment
Comments
No comments yet. Be the first to comment!